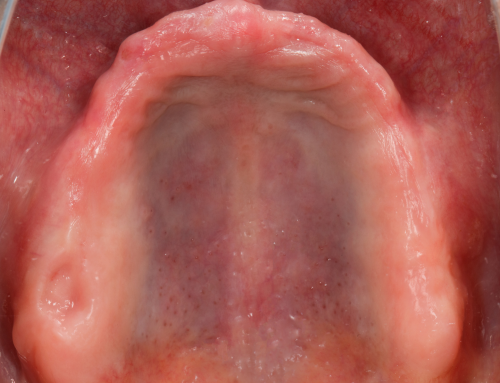
Traditional Impression to Digital Denture (EN2-P) (4 Visits)
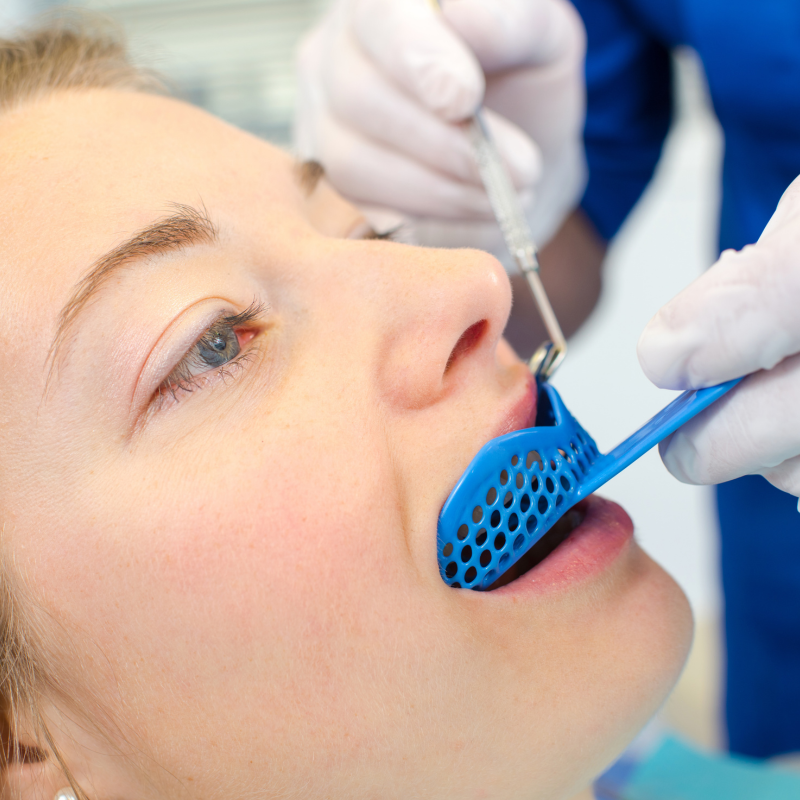
The edentulous patient sitting in your chair needs a new denture, and their current denture, if they have one, is NO HELP. You don't have a scanner. This is the workflow for you.
Patient Identification
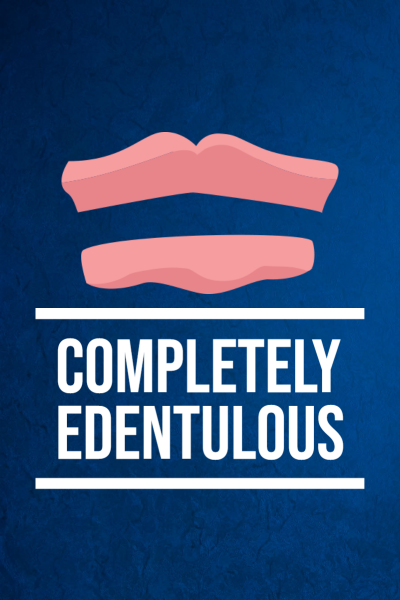
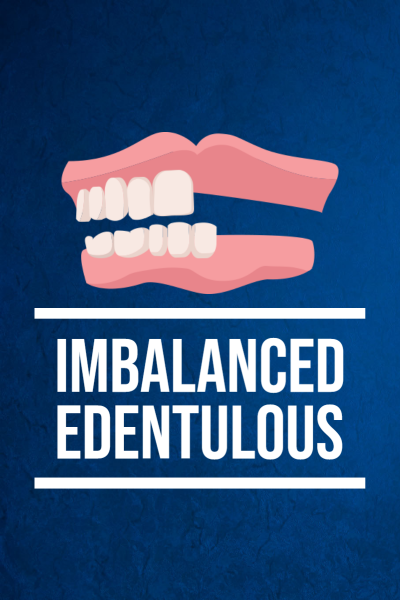
Benefits of This Workflow
This workflow will minimize the number of chairside visits necessary to complete the patient’s new denture. This is not a significant improvement to the traditional number of chairside appointments, but it is an improvement on the overall efficiency.
Clinical and Lab Goals
Indications & Contraindications
Setting Patient Expectations
The patient should understand that this new denture, even though it functions the same, is a big upgrade in technology from their existing denture.
This allows you as the clinician to be seen as more savvy than other clinicians they’ve dealt with.
First Clinical Visit
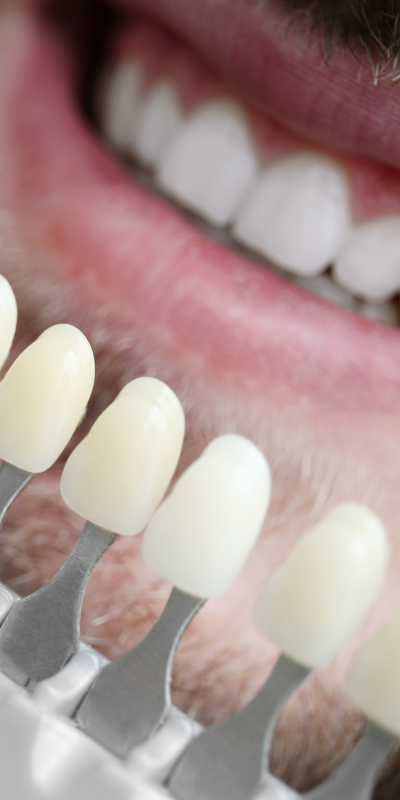
In this visit, you will capture the key diagnostic impressions needed to complete the case
Talk with the patient about what they want to see specifically in their new denture. Please record any relevant information to the Patient’s Rx.
- Shade of Teeth for New Denture
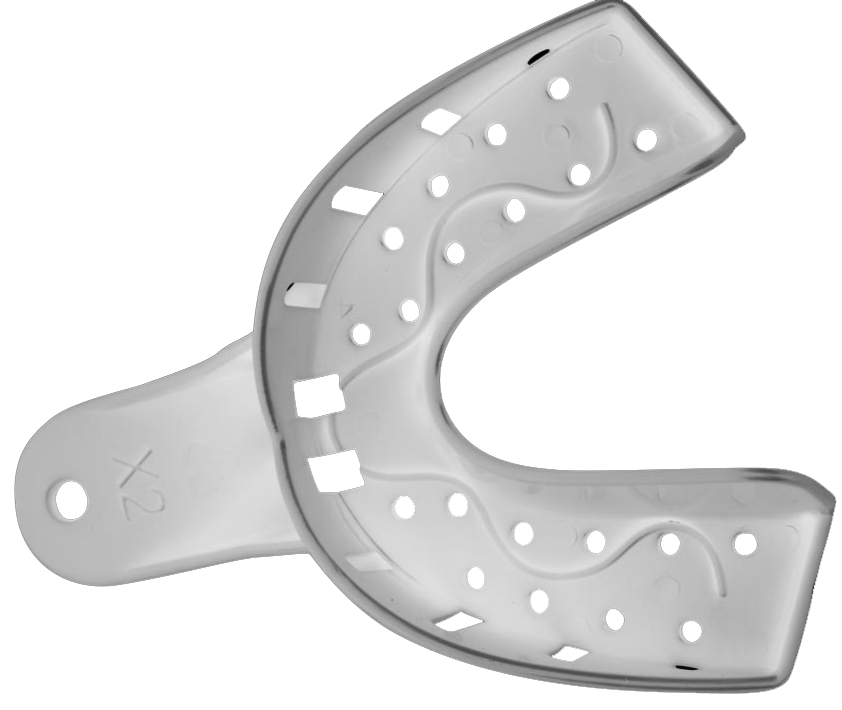
- Impression of Edentulous Arch(es)
- Capture Opposing Arch
First Laboratory Procedure
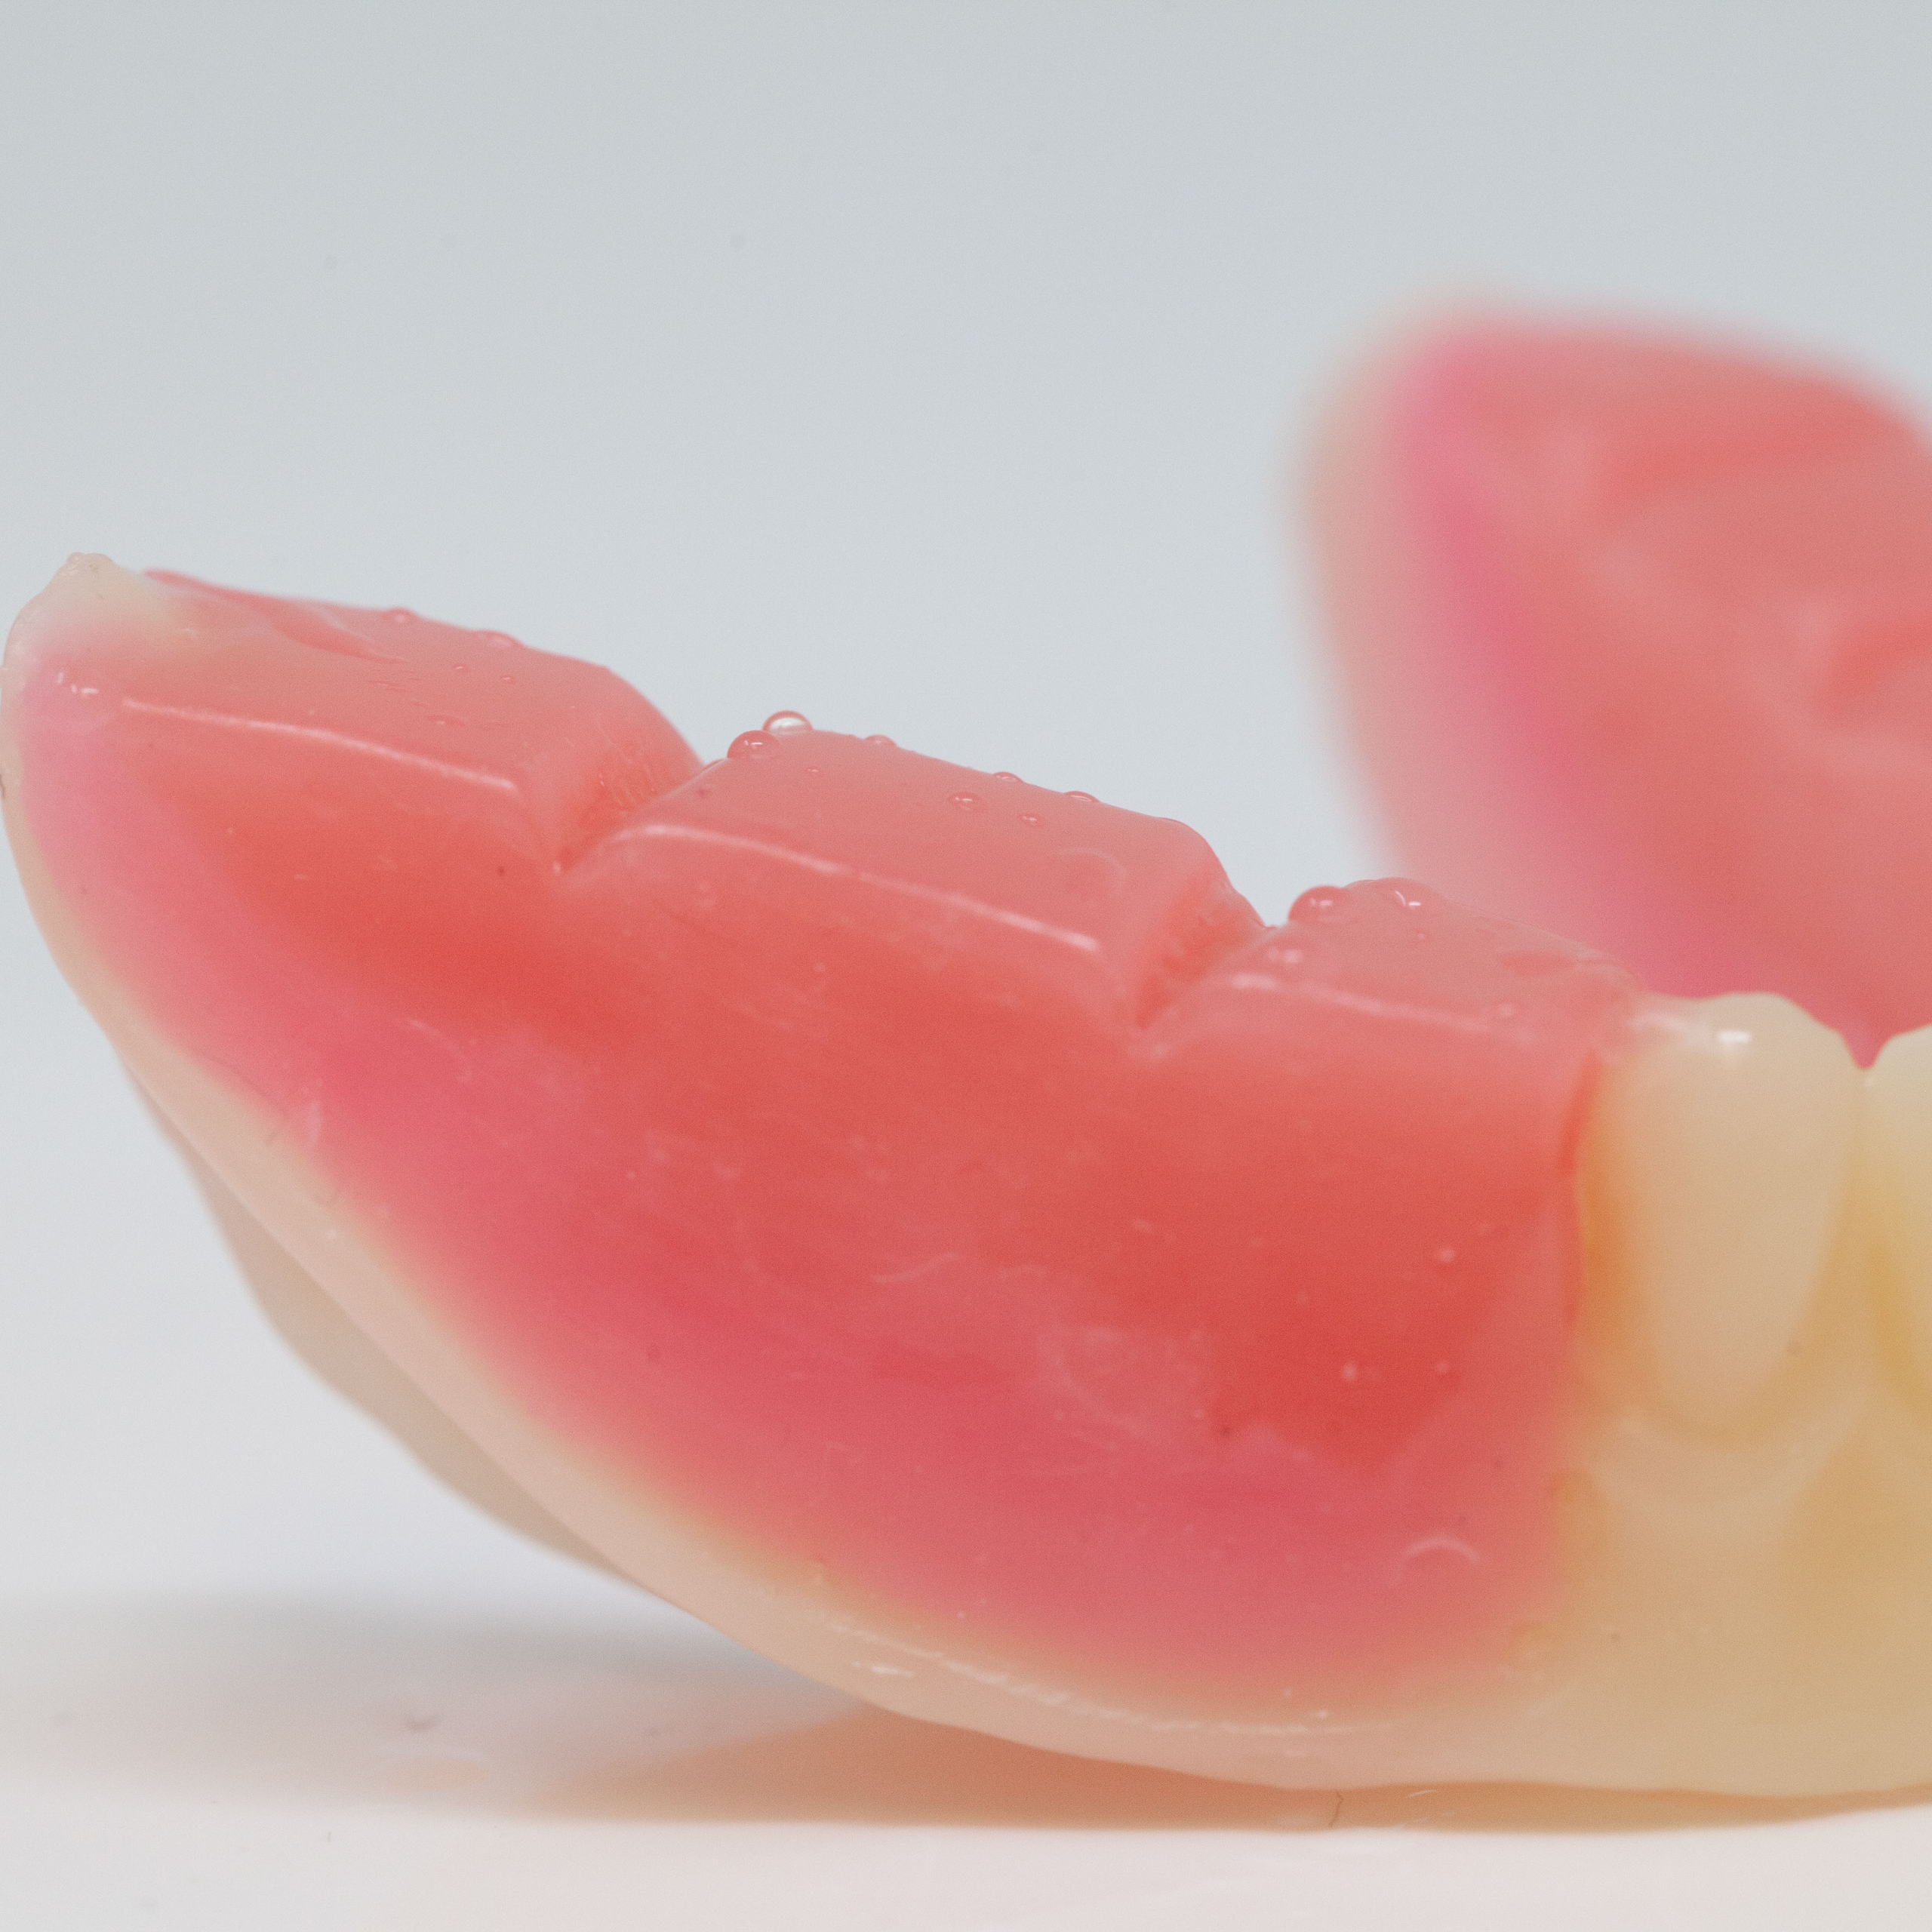
Once received in to the laboratory and correctly recorded, we will fabricate a occlusal rim for the patient to assist you chairside in recording the patient’s vertical.
Second Clinical Visit
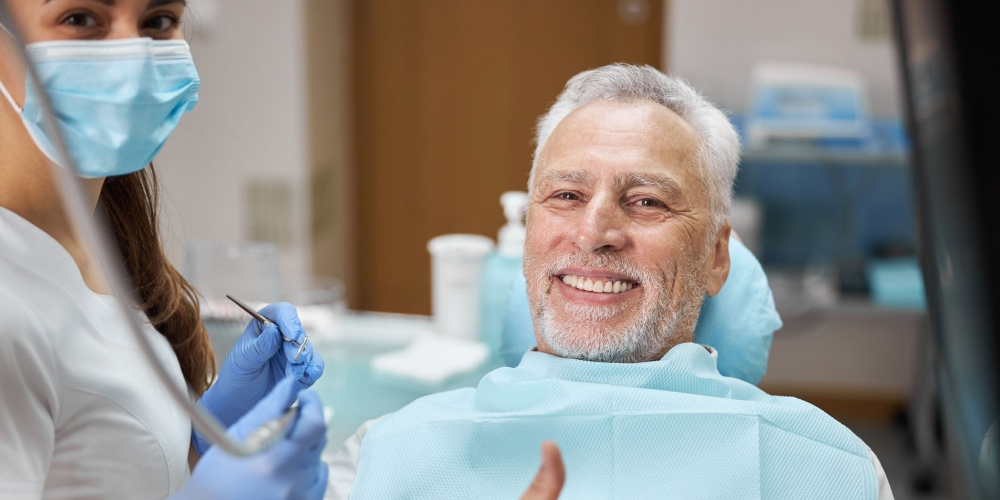
Try-In of Wax Rim
Recording information at this critical stage will give the laboratory everything they need to move forward with your case and produce a superb final outcome for your patient.
In addition to the following suggestions for data gathering, we STRONGLY encourage an additional Wash/Reline impression. You will be evaluating:
- midline
- horizontal plane
- smile line
- shade
- shape of teeth
- long axis of anterior teeth
- Modify wax rim to appropriate vertical
- Record bite
In addition, please consider taking the Hero Shot
Second Laboratory Procedure
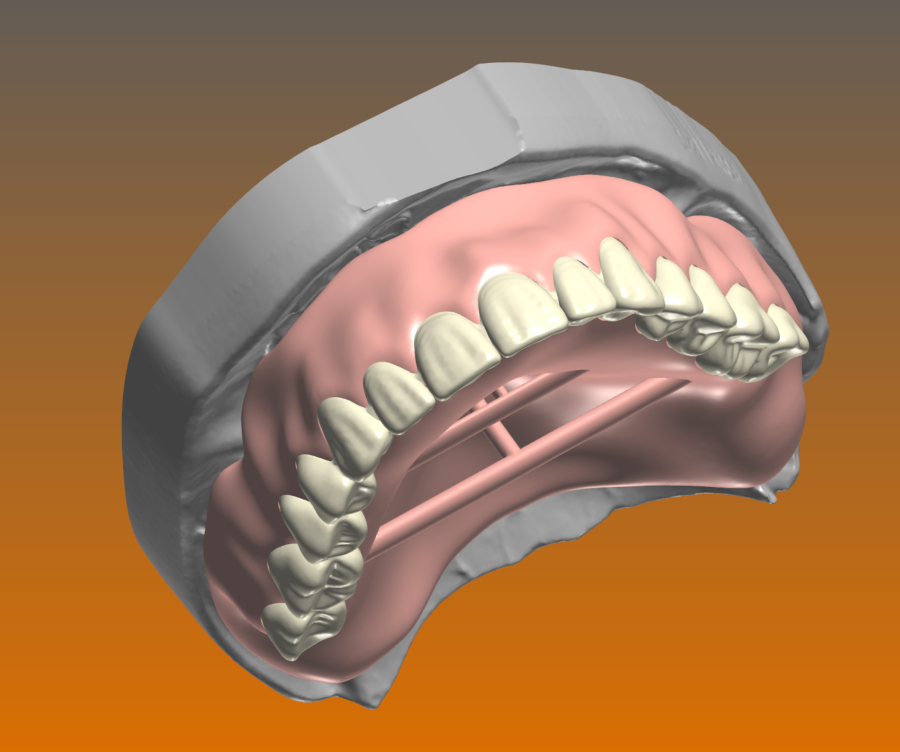
Once returned to the lab RDL’s Design Team will take your measurements and suggestions (if there are any) and design your patient’s new Digital Denture.
The lab will process a Digital Try-In solution in the form of a monolithic denture.
Third Clinical Visit
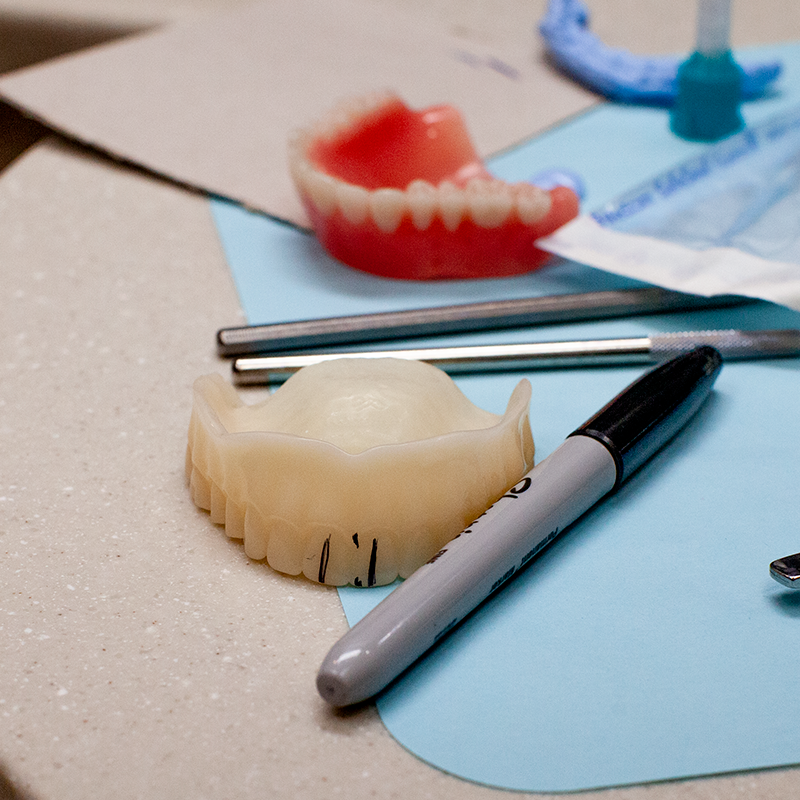
Monolithic Try-In
The monolithic try-in submitted to you and the patient should be treated as a “throw-away” device.
Be warned: a notable percentage of patients will want to wear the try-in out of the office. This is completely acceptable, but if there are any occlusal changes on the monolithic the device must be sent back to the lab to record the changes for the final. If, however, the denture is sufficient, the patient can keep the device for a small upcharge.
Practice “Sharpie Dentistry”. Mark midline and other changes and make notes on the Rx and return to the laboratory for any corrections.
Third Laboratory Procedure
Once returned to the lab RDL’s Design Team will take your measurements and suggestions (if there are any) and design your patient’s new Digital Denture.
The lab will process a Final Denture and return to you and the patient.
Final Clinical Visit
Delivery
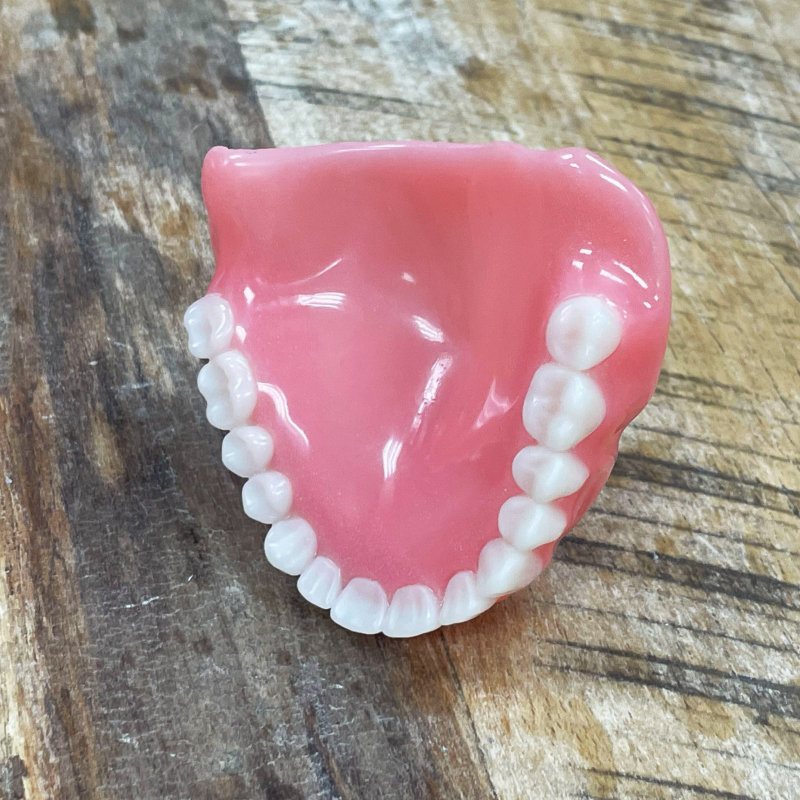
The patient’s new, digitally designed and fabricated denture should be ready for delivery with minimal adjustments. The new digital record can be used as a reference for the patient’s final denture down the road, and will provide the lab with more diagnostic information than if we had followed traditional impression procedures.


